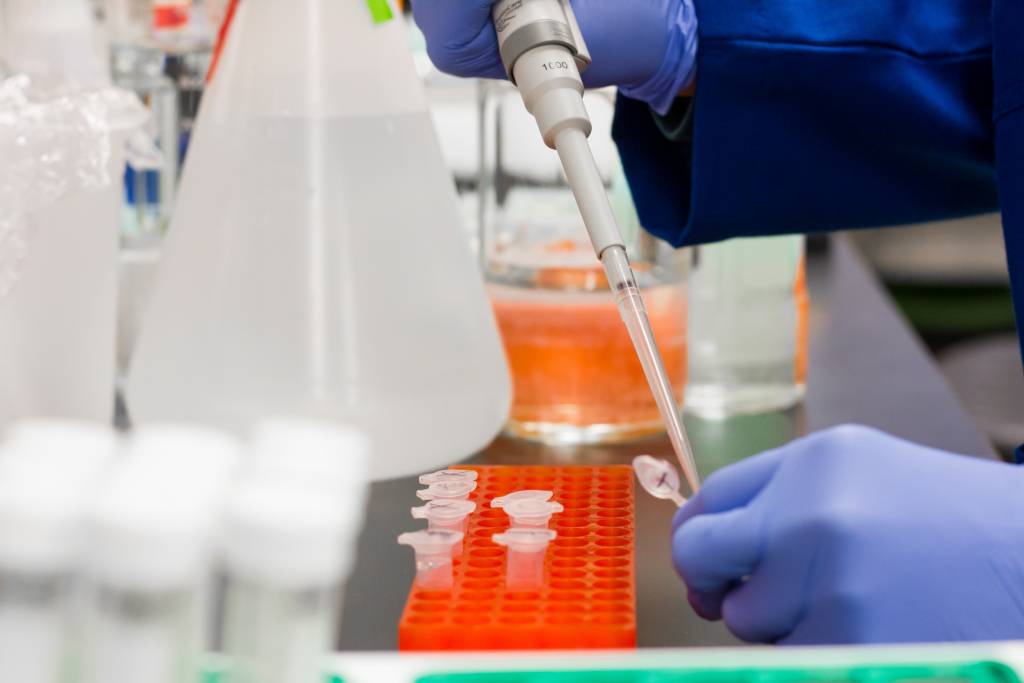
Continuing from my last article, I will be discussing ways how to build your own laboratory in your home. Click here if you’re interested in reading part 1. Before I begin, if you’re interested in having a fume hood installed in your lab, check out the fume hood prices in Malaysia to get one installed in your lab.
Step 1: Choosing The Appropriate Location
Proper Flooring
The next thing to consider in step one is choosing the proper flooring. Use a floor that is “spill-proof.” Rooms with porous floors, such as carpet or wood, should be avoided. Spilt chemicals will seep into the surfaces and destroy them. Because they are easy to clean and won’t absorb chemicals, vinyl or linoleum flooring are ideal. Concrete flooring is also functional, although it is porous and absorbs spills. Consider using latex or epoxy to cover it. Rubber flooring mats can also be purchased to cover the area of your workspace.

Sufficient Water Supply
Lastly, work near a source of running water. Although not absolutely necessary, having access to running water and a sewer system can be extremely useful. It’s beneficial not only for your experiments but also for your safety. If this isn’t an option, fill a large container with water, such as a 5-gallon carboy. Many of your experiments may require water, and having a large supply on hand is advantageous. If you get something in your eye or spill chemicals on yourself, rinse the afflicted area for at least 15 minutes before seeking medical attention.
Step 2: Obtaining Lab Supplies
Figure out the purpose of your lab
Determine what your lab’s purpose is. To begin, decide what kind of research you’ll conduct at your lab. A biology lab, for example, will be set up differently than a chemistry lab. Similarly, whether you’re a youngster doing science fair experiments versus a more senior scientist performing complex processes at home, your needs would be different.
As a beginner scientist, you may get started with a home scientist kit and a few beakers, as well as common household items. You’ll need accurate measurement devices, heating devices, and well-made glassware if you’re doing more intricate research.
Obtain your lab equipment
Obtain necessary supplies. Invest in a filtration system that will allow you to filter your solutions and limit the chance of contamination. Your experiments will require beakers, Erlenmeyer flasks (with stoppers), and graduated cylinders of various diameters.
To begin, start with sizes ranging from 250 mL to 1000 mL. A funnel, small plastic pipettes, test tubes, test tube racks, heat resistant tubing, and a funnel are also helpful to have on hand. Some chemistry investigations might benefit from burettes for titrations. You’ll learn what you need more of and what you don’t need as you utilise your lab more. Student-grade equipment is usually enough for the work you’ll be performing at home and is significantly less expensive than professional-grade equipment. However, if something appears to be too cheap, it most likely is.

